How To: Machine Embroidery on Hats
Laura from Trash to Couture shares her tips for machine embroidery on a baseball cap and wicker sun hat.
by Laura Pifer, Trash to Couture
May is finally here and we have a lot to look forward to these coming months. From Mother's Day to graduation and several weddings! There is a lot of fun to be done. It also means the season of giving... For me I enjoy making handmade gifts, it's one of the pleasures of being a maker. Because I have a lot of sewing to do, I like to design projects that are simple enough but also one-of-a-kind. That's why I love machine embroidery. It makes customizing easy and this Floral Monogram by Jennifer Brinley collection from OESD is perfect for embroidered gifts.
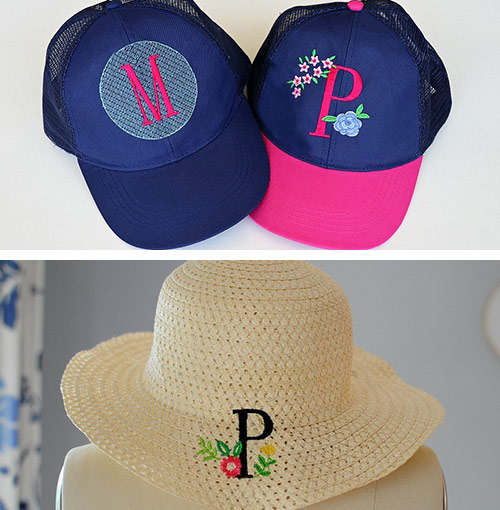
For this post, I wanted to share tutorials on how to Monogram hats with machine embroidery using this Floral Monogram by Jennifer Brinley collection. The designs feature each letter framed in a circular pattern with over 2 dozen colorful flowers. Add these to hats, towels, totes, robes, and more. What I like about these embroidered hats is they can be made for several occasions: bridal parties, teachers' gifts, birthdays, and everything in between. Add them to a themed basket and you have the perfect gift for just about anyone. Get the full tutorial below on how to machine embroider a baseball cap and a wicker sun hat.
Supplies
- Floral Monogram by Jennifer Brinley #80187 collection
- StabilStick TearAway Stabilizer
- Embroidery Thread
- OESD Expert Embroidery Tape TearAway
Instructions
Monogram Baseball Cap
Hoop StabilStick TearAway so the adhesive side will be up once you remove the top layer.
Remove the top layer to expose the adhesive. Tear completely away.
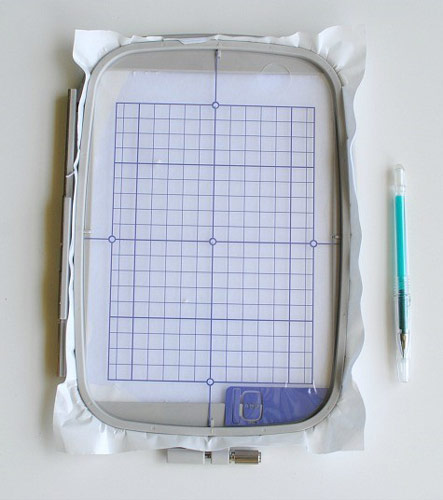
Use the hoop template and mark the center dots.
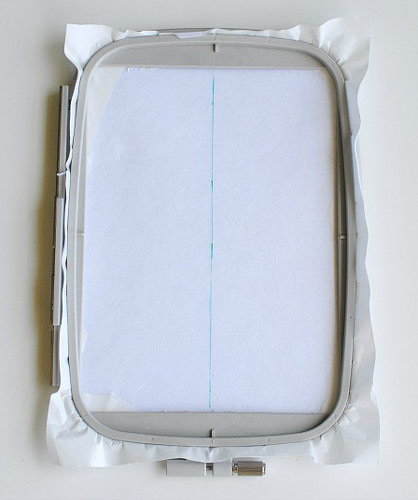
Draw a line down the center with a pen or marking tool.
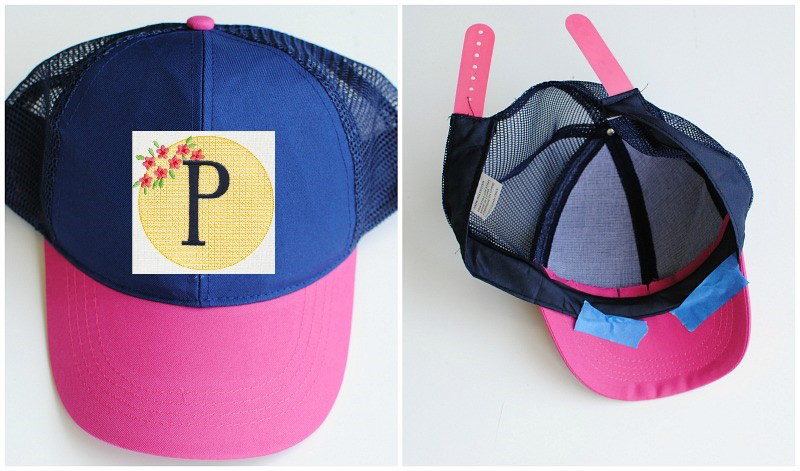
It's a good idea to print your design out to get the proper measurements/placement before embroidery. Use painters tape or OESD Expert Embroidery Tape TearAway to secure the inside flap along the brim. You will have to flatten the brim a bit to get it to stay down. Mark the center of the hat and the center of the design. I typically make the embroidered design start about 3/4" above the brim.
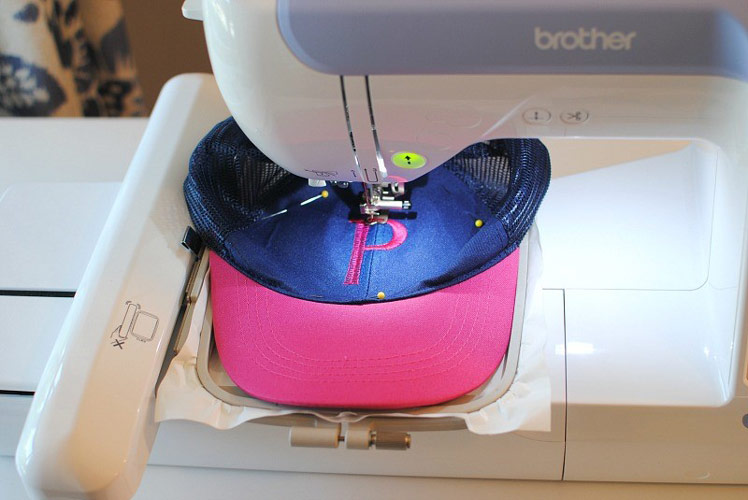
Place the cap onto the adhesive stabilizer matching the center lines. Adjust the fabric to be even and flat by pressing with your fingers rather than pulling/stretching. Pin into place on the outsides making sure the pins are not near the design.

Adjust your design on the machine making sure the design is centered and won't hit the pins. The new Brother PE800 Embroidery system allows you to add multiple designs together. I love this so I can create the design all at once without software instead of going back after one design and redoing the setup.

Begin machine embroidery.
Remove from the hoop and remove the TearAway stabilizer.
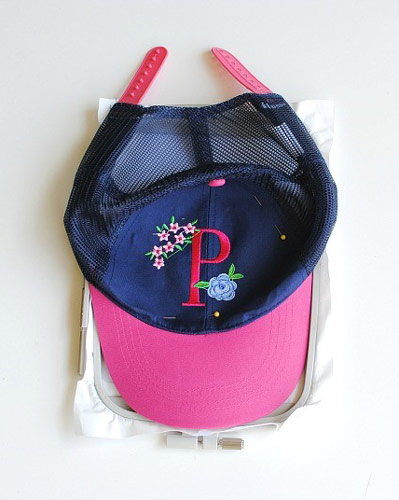
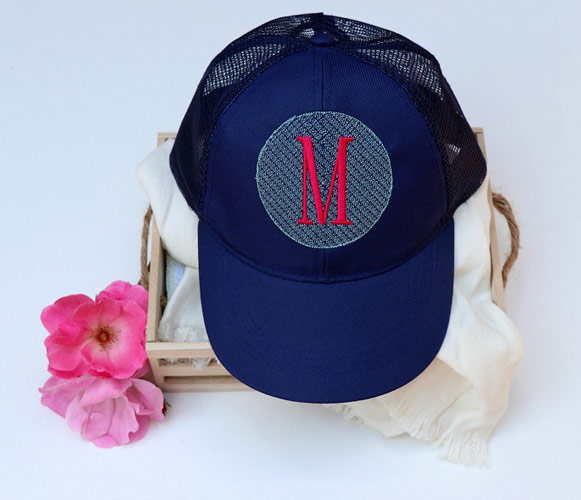
Here is another version with the circular frame and letter M. I love that you can add the floral designs wherever you'd like around the frame. My son wants to make these for each of his teachers. We are going to add them to a gift basket with a Yeti and gift card for the end of the school year gifts.
Monogram Wicker Sun Hat
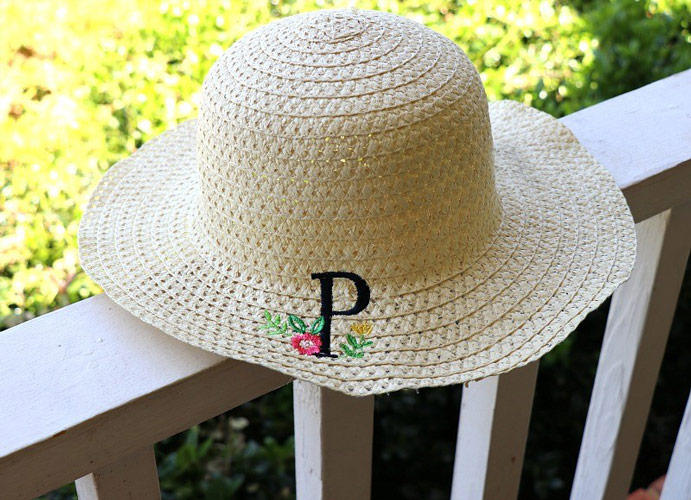
I love embroidered sun hats for photo shoots, bridal parties, and vacations. You'd think the wicker may be a problem for machine embroidery but the needle does just fine sewing through the woven material. Add these to a vacation themed gift basket (embroidered towel, yeti, koozie, etc) and it's a darling, one-of-a-kind gift.
Similar to the baseball cap, mark the design location. Print out the design if necessary.
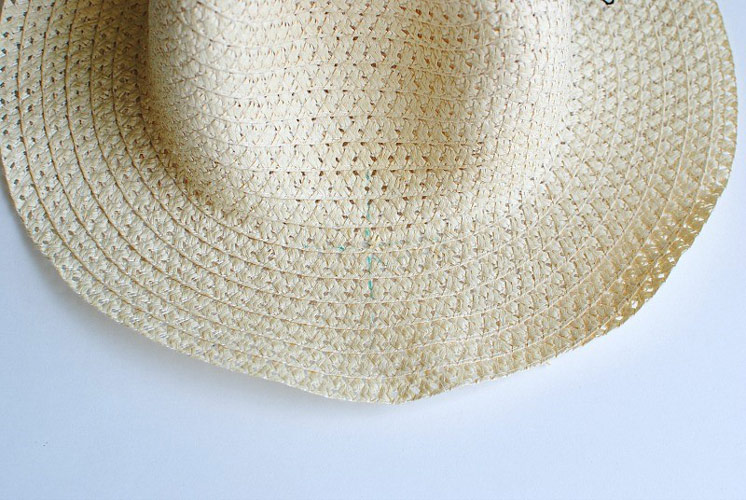
Hoop StabilStick TearAway so the adhesive side will be up once you remove the top layer. (refer to steps 1-3 above). Use the hoop template and mark the center dots. Draw a horizontal and perpendicular line across the center with a pen or marking tool.
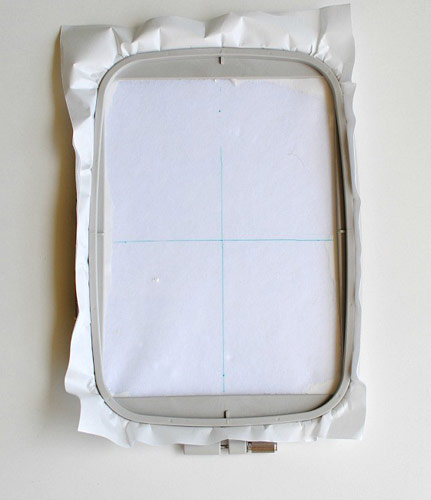
Line the center marks of the stabilizer and hat together. You will want to have the hat hooped so it will hang over the embroidery unit.

Use painters tape or OESD Expert Embroidery Tape TearAway to secure the hat onto the hoop.
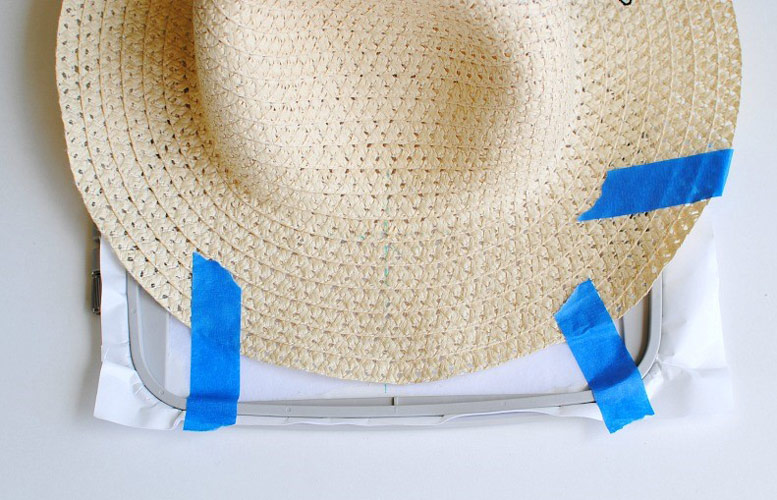
Position the embroidery pattern in the proper direction...notice my P was rotated horizontally.
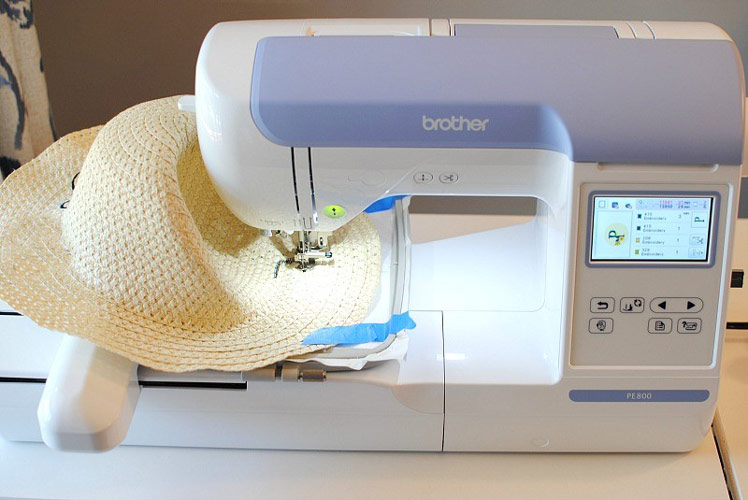
Embroider...You may need to use something to keep the hat from rising occasionally during embroidery. I just used a chopstick :).
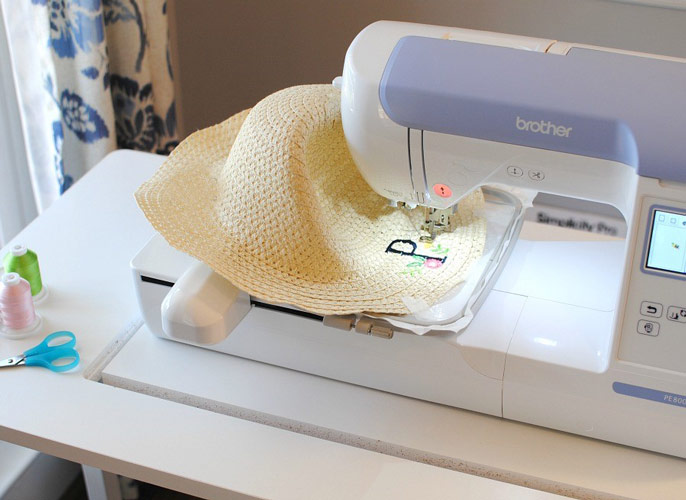
Remove the TearAway Stabilizer.
Try adding the floral embroidery around the sides of the hat as well. I love the idea of adding these with a gardening set for a gift.
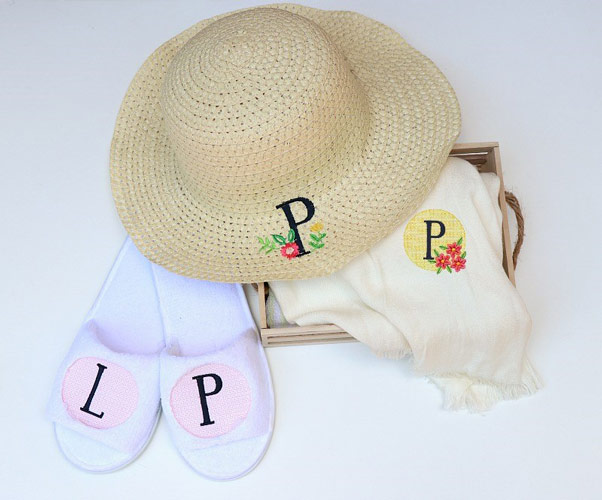
Even a cute bridal party kit, just add a monogrammed robe for each bridesmaid and a pair of spa slides! The ideas are endless...
This material is © OESD, LLC and may not be reproduced or published without permission.
