Tips on Tiling Scenes
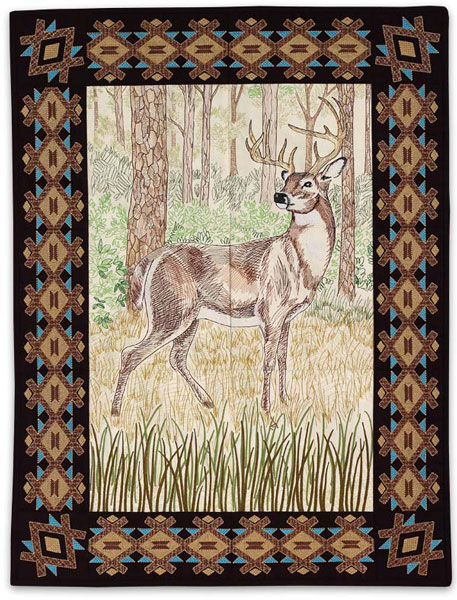
Embroidering and stitching together a tiling scene is a simple process with these time-saving tips. At OESD, our tiling scenes feature two different looks. Some are only embroidery stitches, while others use the appliqué technique for components of the scene. White-tailed Buck Tiling Scene #12570 is an example of an embroidery-only tiling scene:
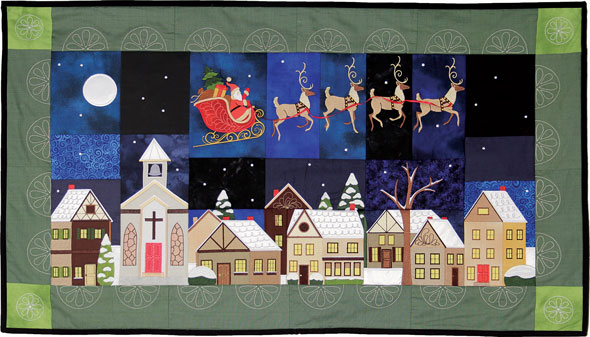
Here is an example of the appliqué technique, Christmas Eve Tiling Scene #12517. The moon, sleigh, and some of the building pieces are appliqué.
It is important to use the proper amount of stabilizer when stitching the tiling scenes. For each of the tiles, use two layers of tearaway stabilizer with the background fabric. A crisp medium-weight tearaway and a softer tearaway is an excellent combination; place the crisp tearaway against the fabric and the softer one on the bottom. Two crisp medium-weight tearaway pieces are difficult to hoop with the fabric but will work if that is what's available. Be sure to use temporary spray adhesive between the layers and adhere to each other. Hoop all the layers.
When embroidering the tiles, the border of each design is the last piece stitched. It is referred to on the thread chart as "Seam", and is a very important step that should never be skipped. We recommend stitching this thread color to blend with the background fabric (needle thread). Also, use a darker color in the bobbin, so it contrasts with the stabilizer.
Once the embroidery process is complete, trim away excess fabric by cutting ¼" away from the "Seam" using a rotary cutter and ruler. Do not remove the stabilizer. It might be easier to cut with the back of the block face up on your cutting board since the darker thread from the bobbin is easily seen against the stabilizer.
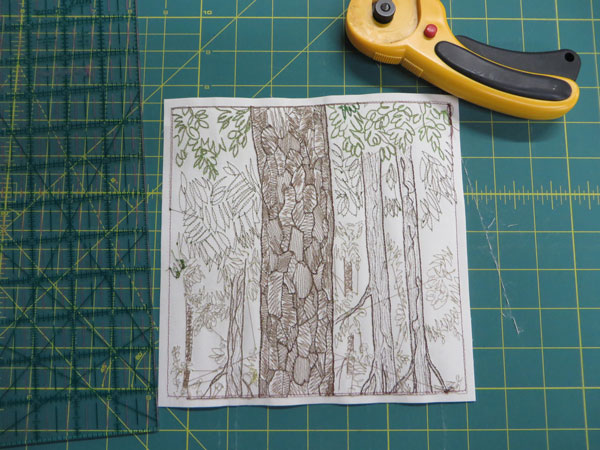
After the tiles are trimmed, lay out the pieces according to the Diagram included in the complete instructions. To stitch the tiles together, place the right sides together and pin just inside the "Seam" line. Using a ¼" foot, stitch a fat ¼". After stitching, turn to the right side to see if the “Seam” line is showing. It should blend in if the thread matches the background fabric. If it shows too much, then rip out the seam and stitch again. Once each row is stitched together, sew the rows to each other to complete the front of the tiling scene. As you stitch, make sure that the intersections line up between the rows.
Cut the backing fabric and batting 2” larger than the size of the assembled tiling scene. Layer a quilt sandwich by placing the backing fabric wrong side up, then the batting on top of that, and then the tiling scene right side up. Pin together with curved basting pins, or use temporary spray adhesive to baste the layers together.
We recommend quilting by "stitching in the ditch" using a color that blends in with the majority of the background or using a clear thread.
There are three different ways to finish the tiling scene:
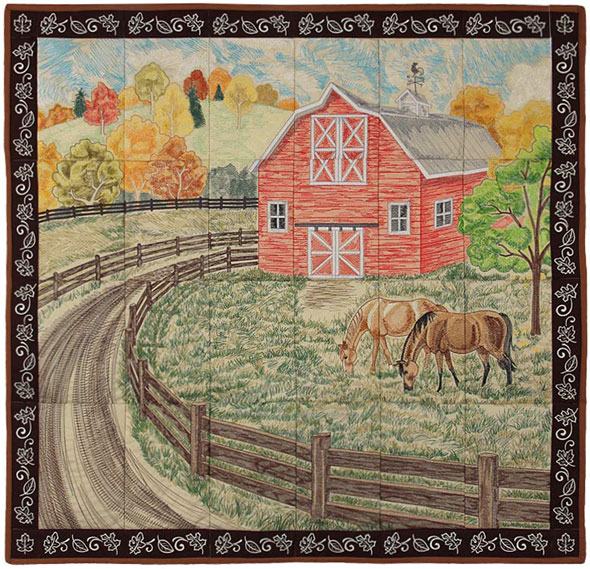
1. No panes separated which requires no extra steps. You have to use the ¼" seam allowance to stitch the tiles together, like Autumn Morning Pasture #12533:
2. Satin ribbon fused over the seams of the tiles with ¼" fusible web tape. You can use the ¼" seam allowance, but it is best to trim off the “Seam” line, but the pieces next to each other and zigzag them together. The satin ribbon then covers the zigzag stitch, like A Country Spring Lane #12456
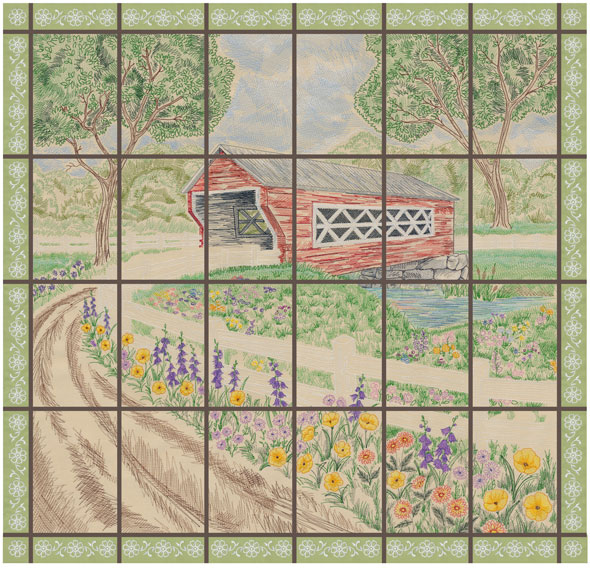
3. Satin ribbon zigzagged over the seams of the tiles. Fuse the ribbon on the seams first with the ¼" fusible web tape. Use the ¼" seam allowance but it is best with less bulk to trim off the “Seam” line, but the pieces next to each other, and zigzag them together. The satin ribbon then covers the zigzag stitch, like Dashing Through the Snow #12359
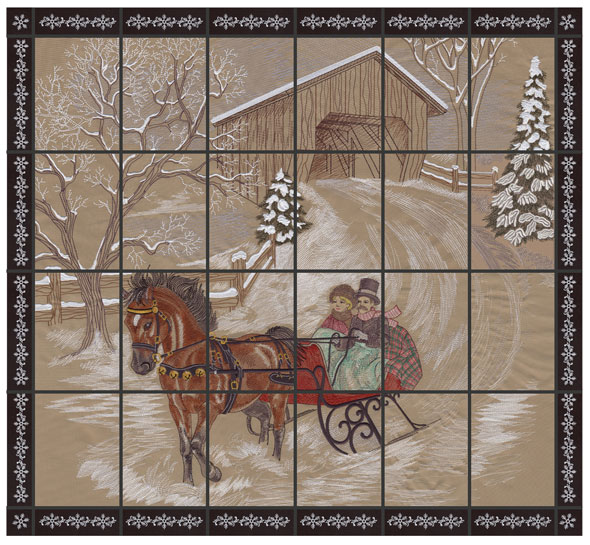
The last step to finish the tiling scene is to attach the binding. In our tiling scenes, the mitered corner technique is used.
Watch this short video for more tiling scene tips:
This material is © OESD, LLC, and may not be reproduced or published without permission.
