Trim in Place Applique Tutorial
Trim in Place Appliqué is – as it sounds – trimming appliqué as you embroider the separate pieces while leaving the appliqué in the hoop. This is different from pre-cut appliqué where the appliqué shape is cut out in advance, and the embroidery is done around it. See Pre-Cut Appliqué Tutorial.
In Trim in Place Appliqué, a piece of fabric is placed over the placement stitch. The next stitch is a Cut Line & Tackdown to stitch and hold the fabric in place. The embroidery hoop is taken off the machine and the excess fabric is trimmed away close to the stitching line. You can use the Trim in Place Appliqué technique if your design has a Placement Stitch, a Cut Line & Tackdown, and a Cover Stitch.
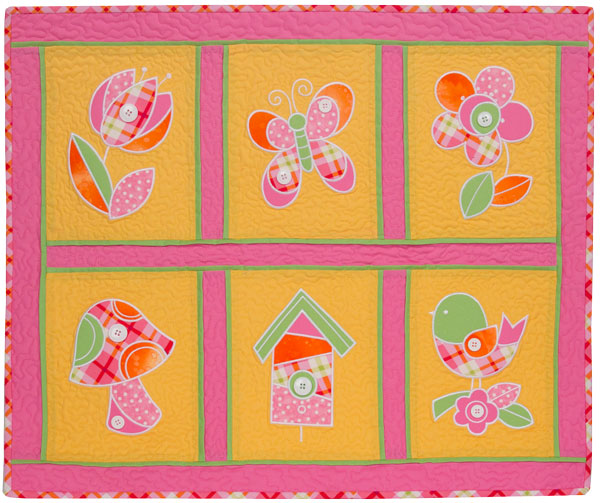
So let’s look at how to stitch out a trim in place appliqué. We will use the Springtime Mushroom Appliqué #12562-04 which can be purchased separately or included in the Springtime Appliqués #12562 embroidery collection. Let’s gather our fabrics, stabilizers and Isacord embroidery threads, and get started.
First, press all the fabrics and make sure there are no wrinkles. Next, hoop background fabric and two layers of tearaway stabilizer. Put the embroidery hoop on the machine.
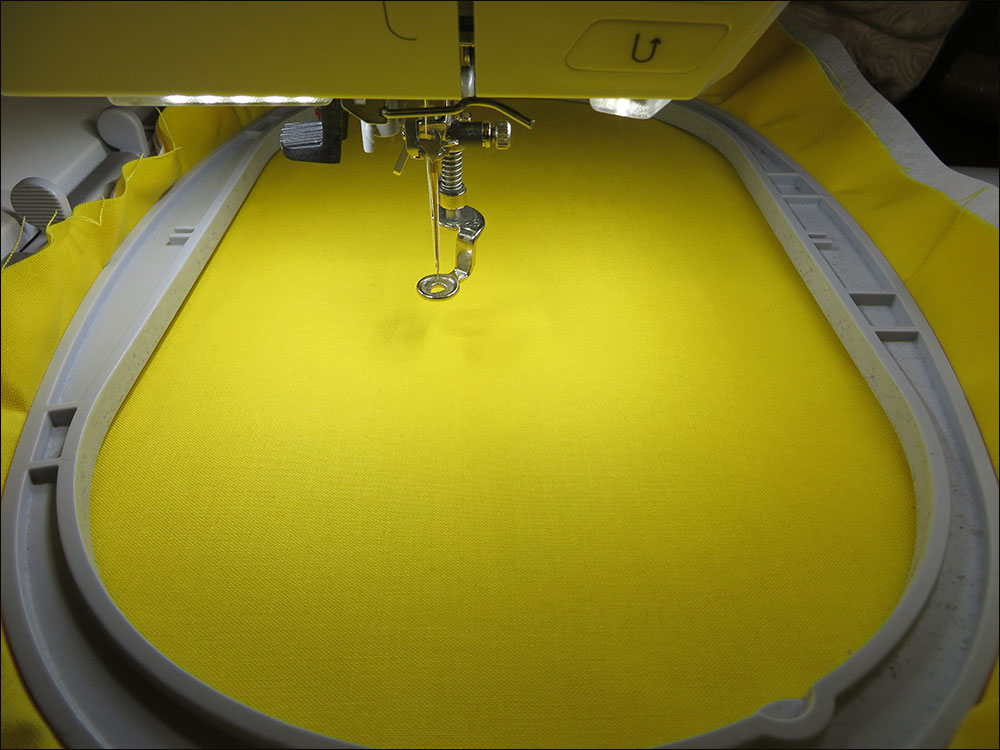
Stitch the first color called Stem Bottom Placement Stitch.
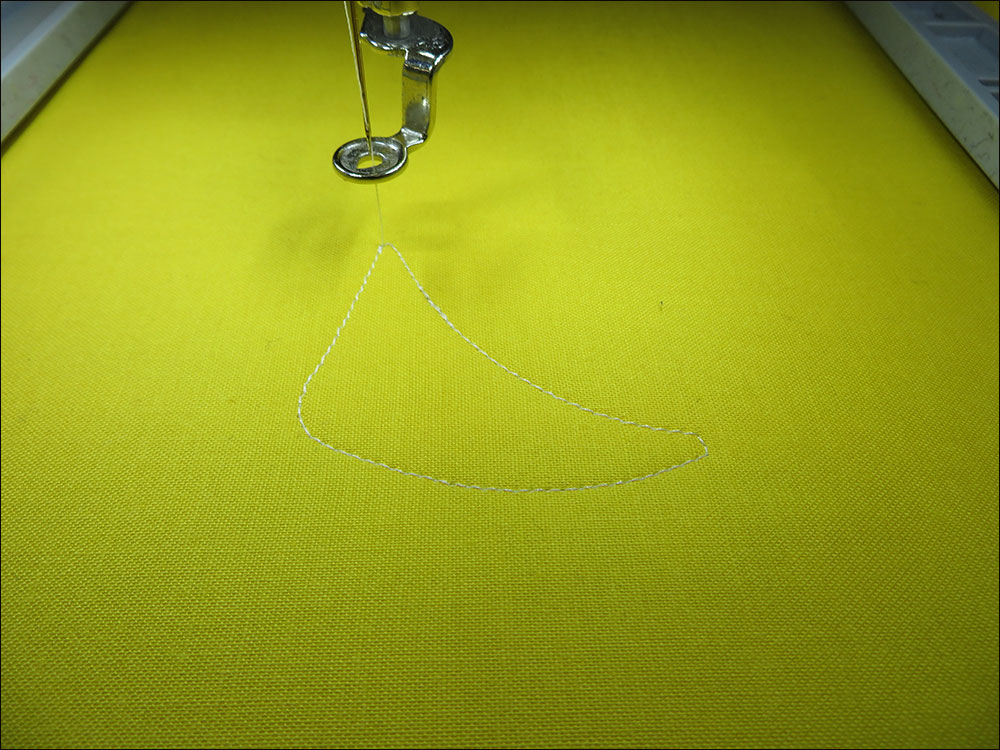
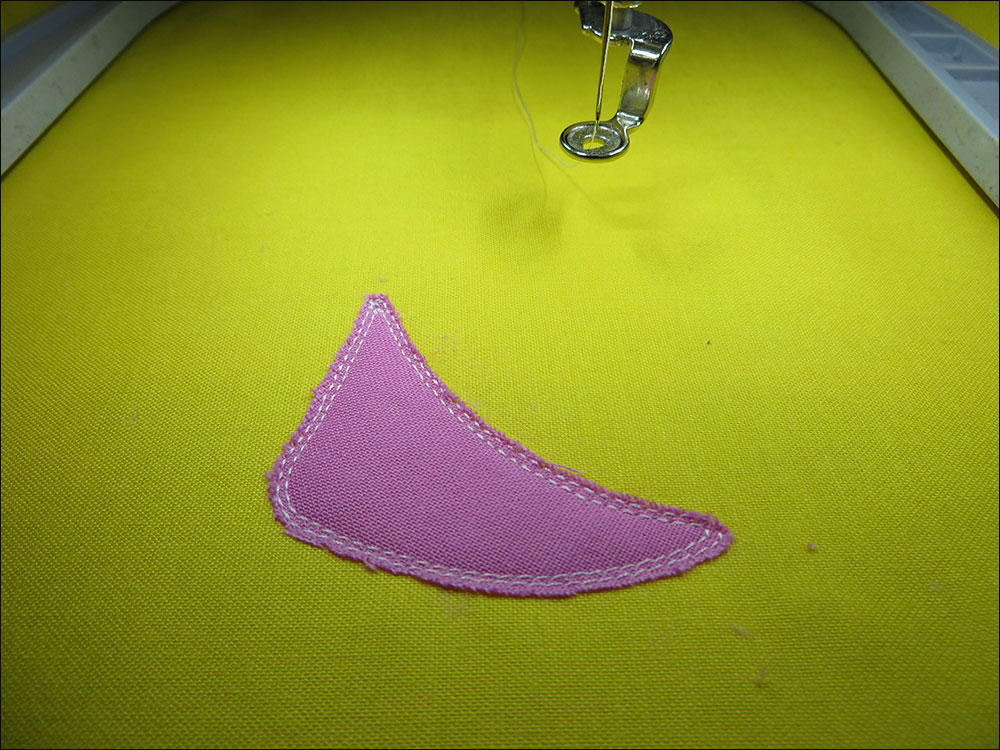
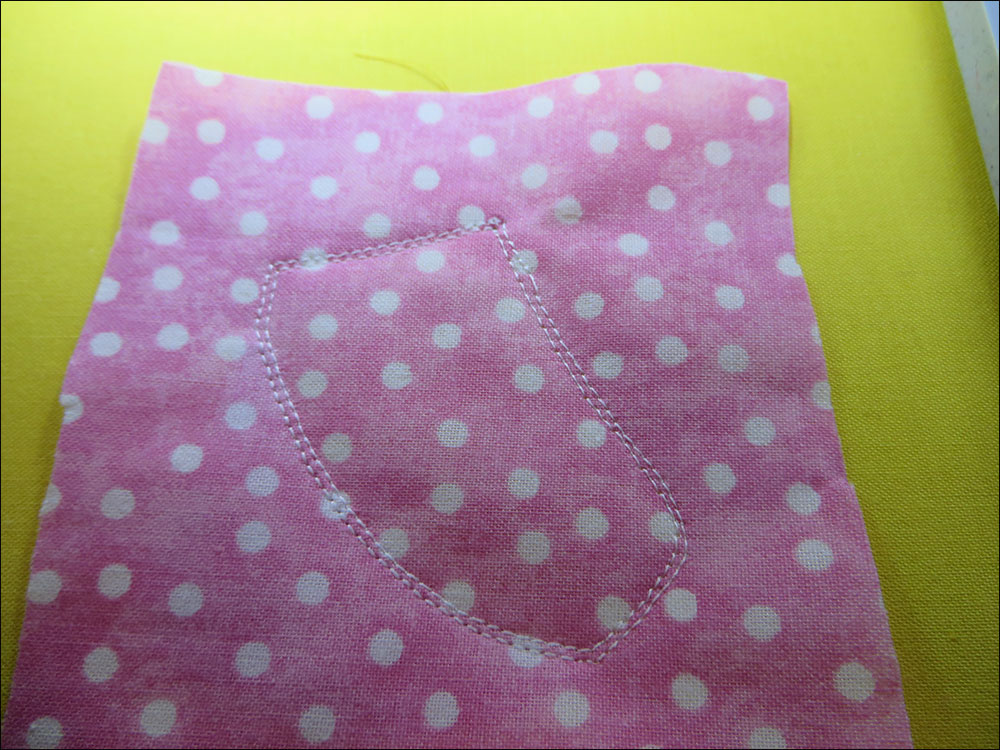
Place fabric right side up onto the background fabric, being sure to cover the Stem Bottom Placement Stitch. Stitch the second color called Stem Bottom Cut Line & Tackdown.

Remove the hoop from the machine, but NOT the project from the hoop, and trim the excess fabric as close to the cutline as possible. If the outermost stitches (cutline) are cut, the inner stitches (Tackdown) will hold the applique in place.
Put the hoop back on the embroidery machine. Stitch the next color called Stem Top Placement Stitch.
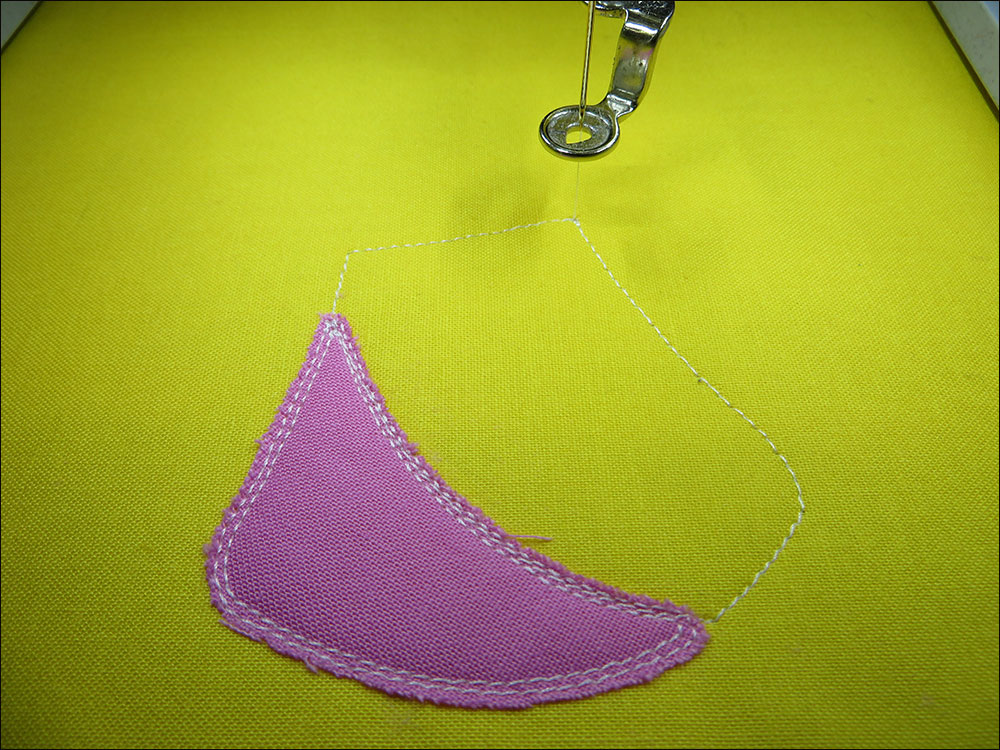
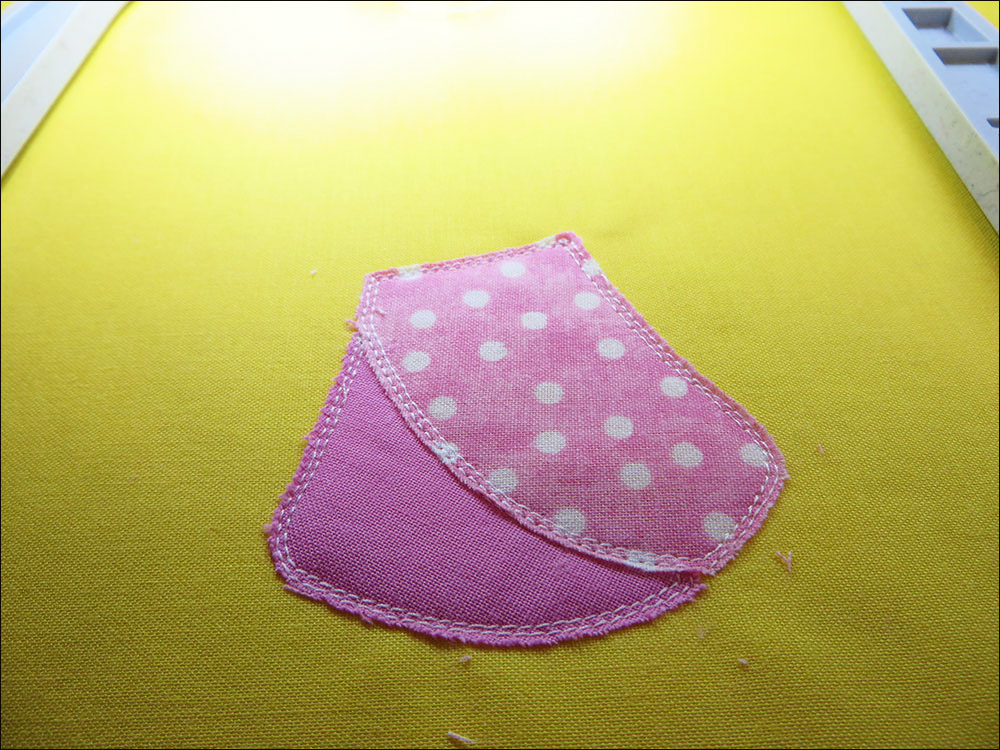
Place fabric right side up onto the background fabric, being sure to cover the Stem Top Placement Stitch. Stitch the next color called Stem Top Cut Line & Tackdown.
Remove the hoop from the embroidery machine, but NOT the project from the hoop and trim the excess fabric.
Put the hoop back on the embroidery machine.
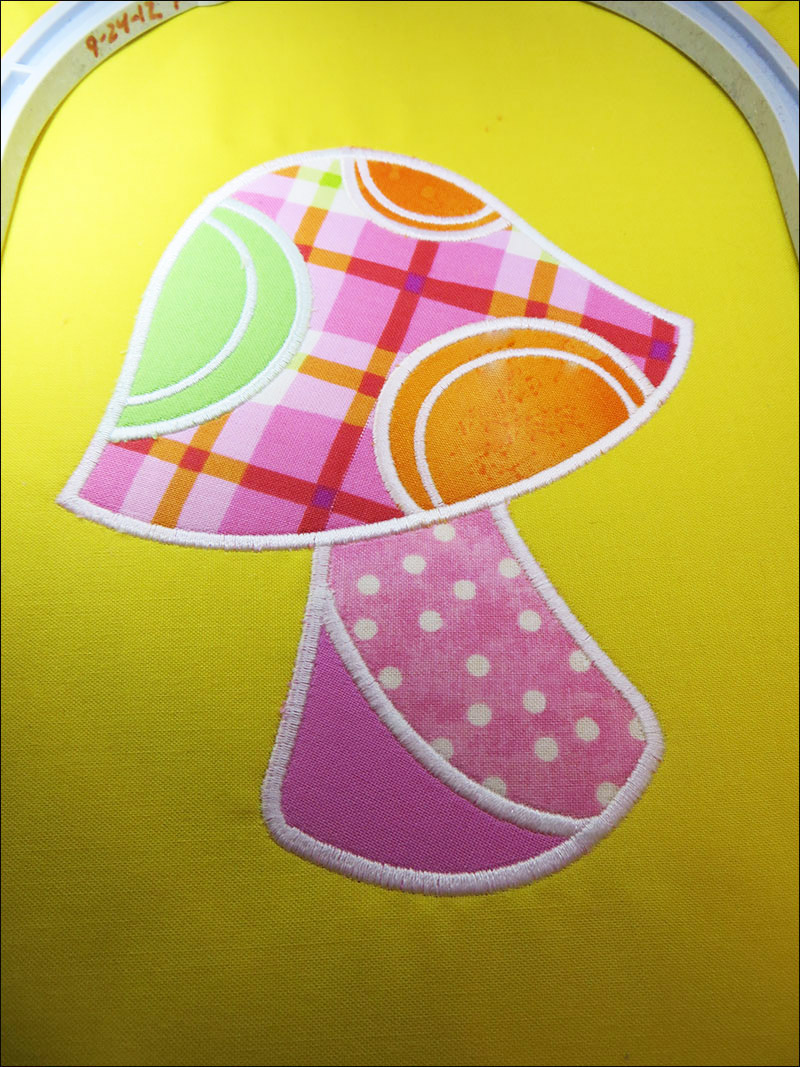
Continue stitching the Placement Stitch, placing the fabric right side up, stitching the Cut Line & Tackdown, and trimming the excess fabric until all the appliqués fabrics are stitched in place.

Stitch the last stitch which is the Cover Stitch.
Springtime Appliqués #12562 are quick and easy appliqué designs that can be stitched on lots of different projects.
This material is © OESD, LLC and may not be reproduced or published without permission.